Proxy Settings
Proxy Settings route network traffic through an FPP device to a connected controller. Open Status/Control → Proxy Settings.
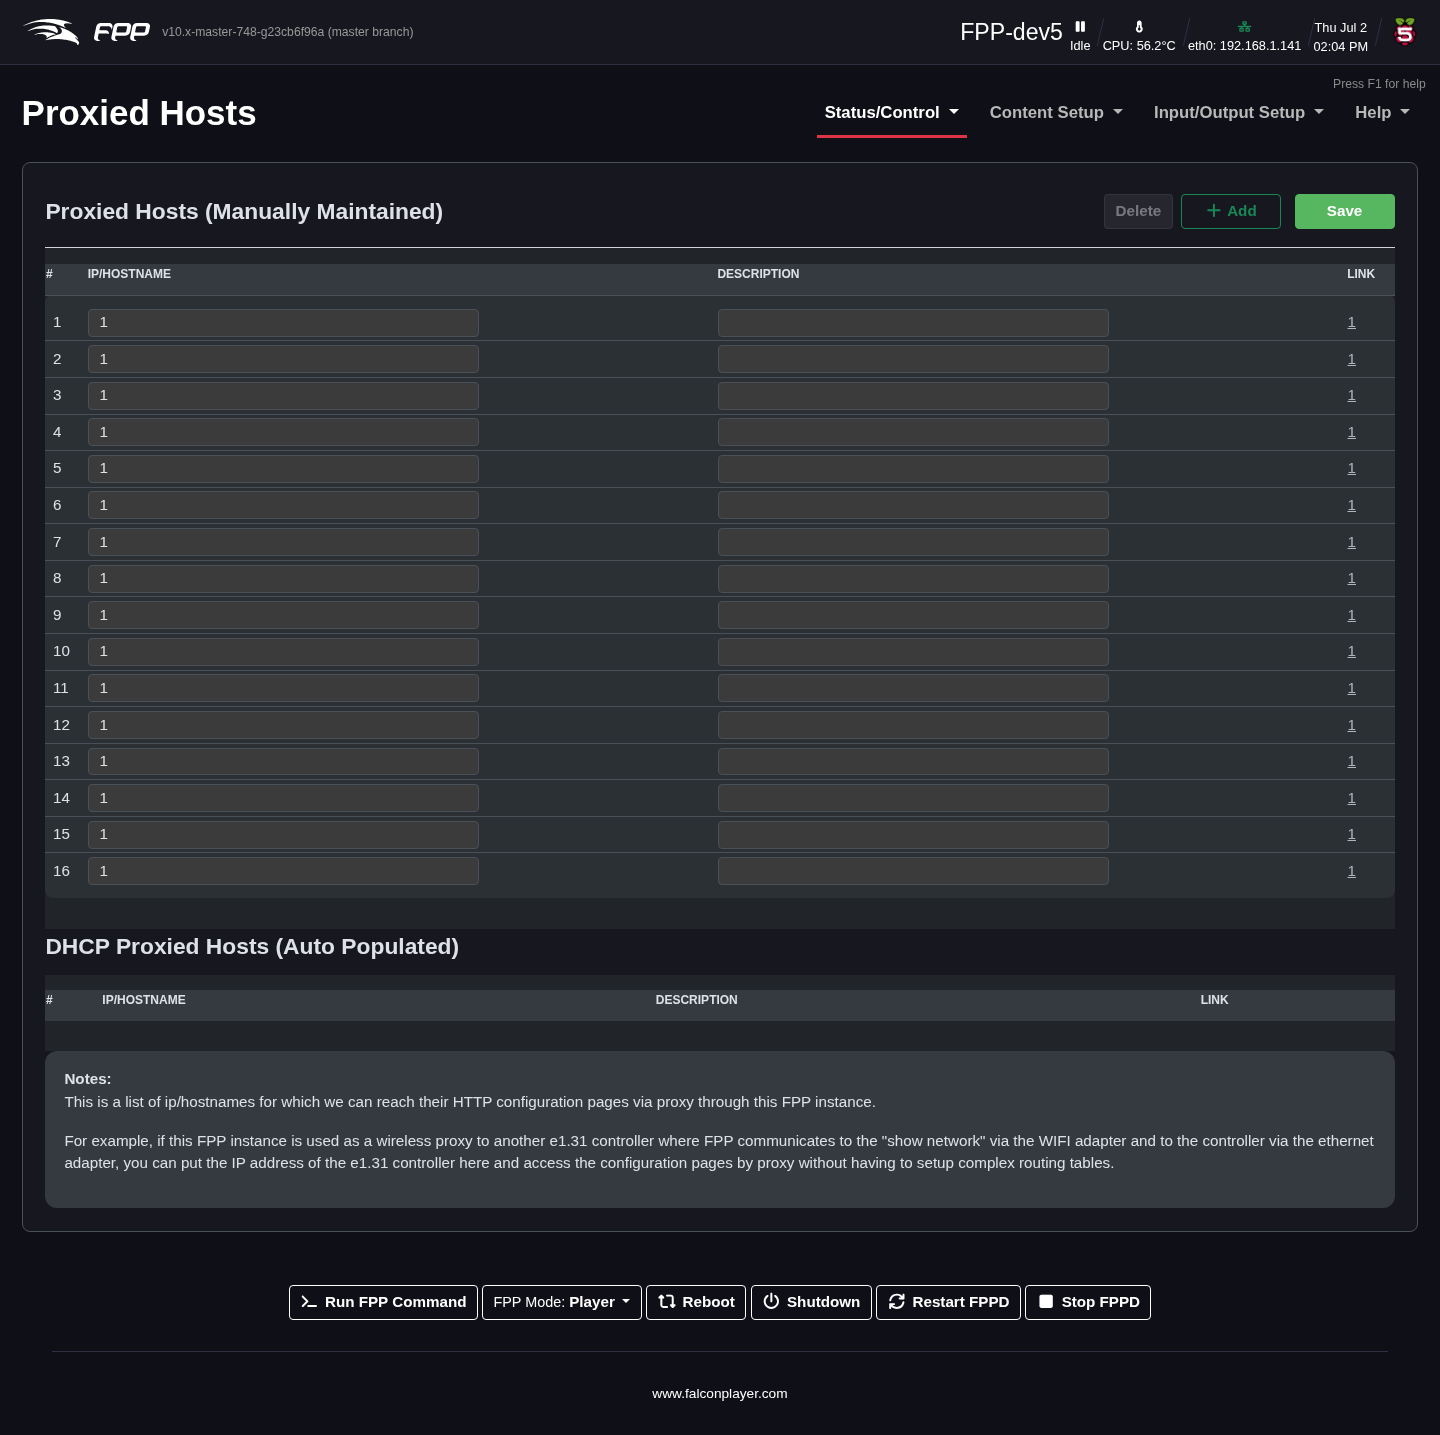
Configure FPP as a Proxy Host by entering the IP address of the controller(s)
attached to it, so you do not need static routes on your computer or router
(especially helpful on Macs, where routes are not persistent). To reach a proxied
controller's web UI, click its link on the Proxied Hosts page, or enter the FPP
device's IP followed by /proxy/ and the controller's address — for example, if
the FPP's wlan0 IP is 192.168.1.101 and the controller is 192.168.101.2,
browse to 192.168.1.101/proxy/192.168.101.2.
Note
Not all controllers support being proxied. Falcon controllers (with current firmware) and KulpLights controllers do.
Configuring proxies from xLights (recommended): in the example, an F16 uses a
Raspberry Pi as its Proxy Host. The Pi has a Wi‑Fi (wlan0) address of
192.168.1.200 on the home network and an eth0 address of 192.168.200.2; the
F16 is wired to the Pi at 192.168.200.3. In xLights, define the controller that
needs the proxy with the IP address of the FPP device acting as proxy — the more
globally reachable interface, here the Pi's wlan0 address (192.168.1.200). Then
in FPP Connect, tick Upload for the Proxy Host (the Pi) and enable Add
Proxies (do not add proxies for the controller that needs the proxy), and
set UDP Out to Proxied.