Pixel Overlay Models
Pixel Overlay Models let you manually manipulate a particular model in real time — via plugins, scripts, the API or MQTT — before its data is sent to the controllers, while the rest of your display keeps playing sequenced data. They are typically used for matrices or mega‑trees (or other dense props), but work for any model you want to take manual control of, and are handy for individually testing models through FPP. Open Input/Output Setup → Pixel Overlay Models.
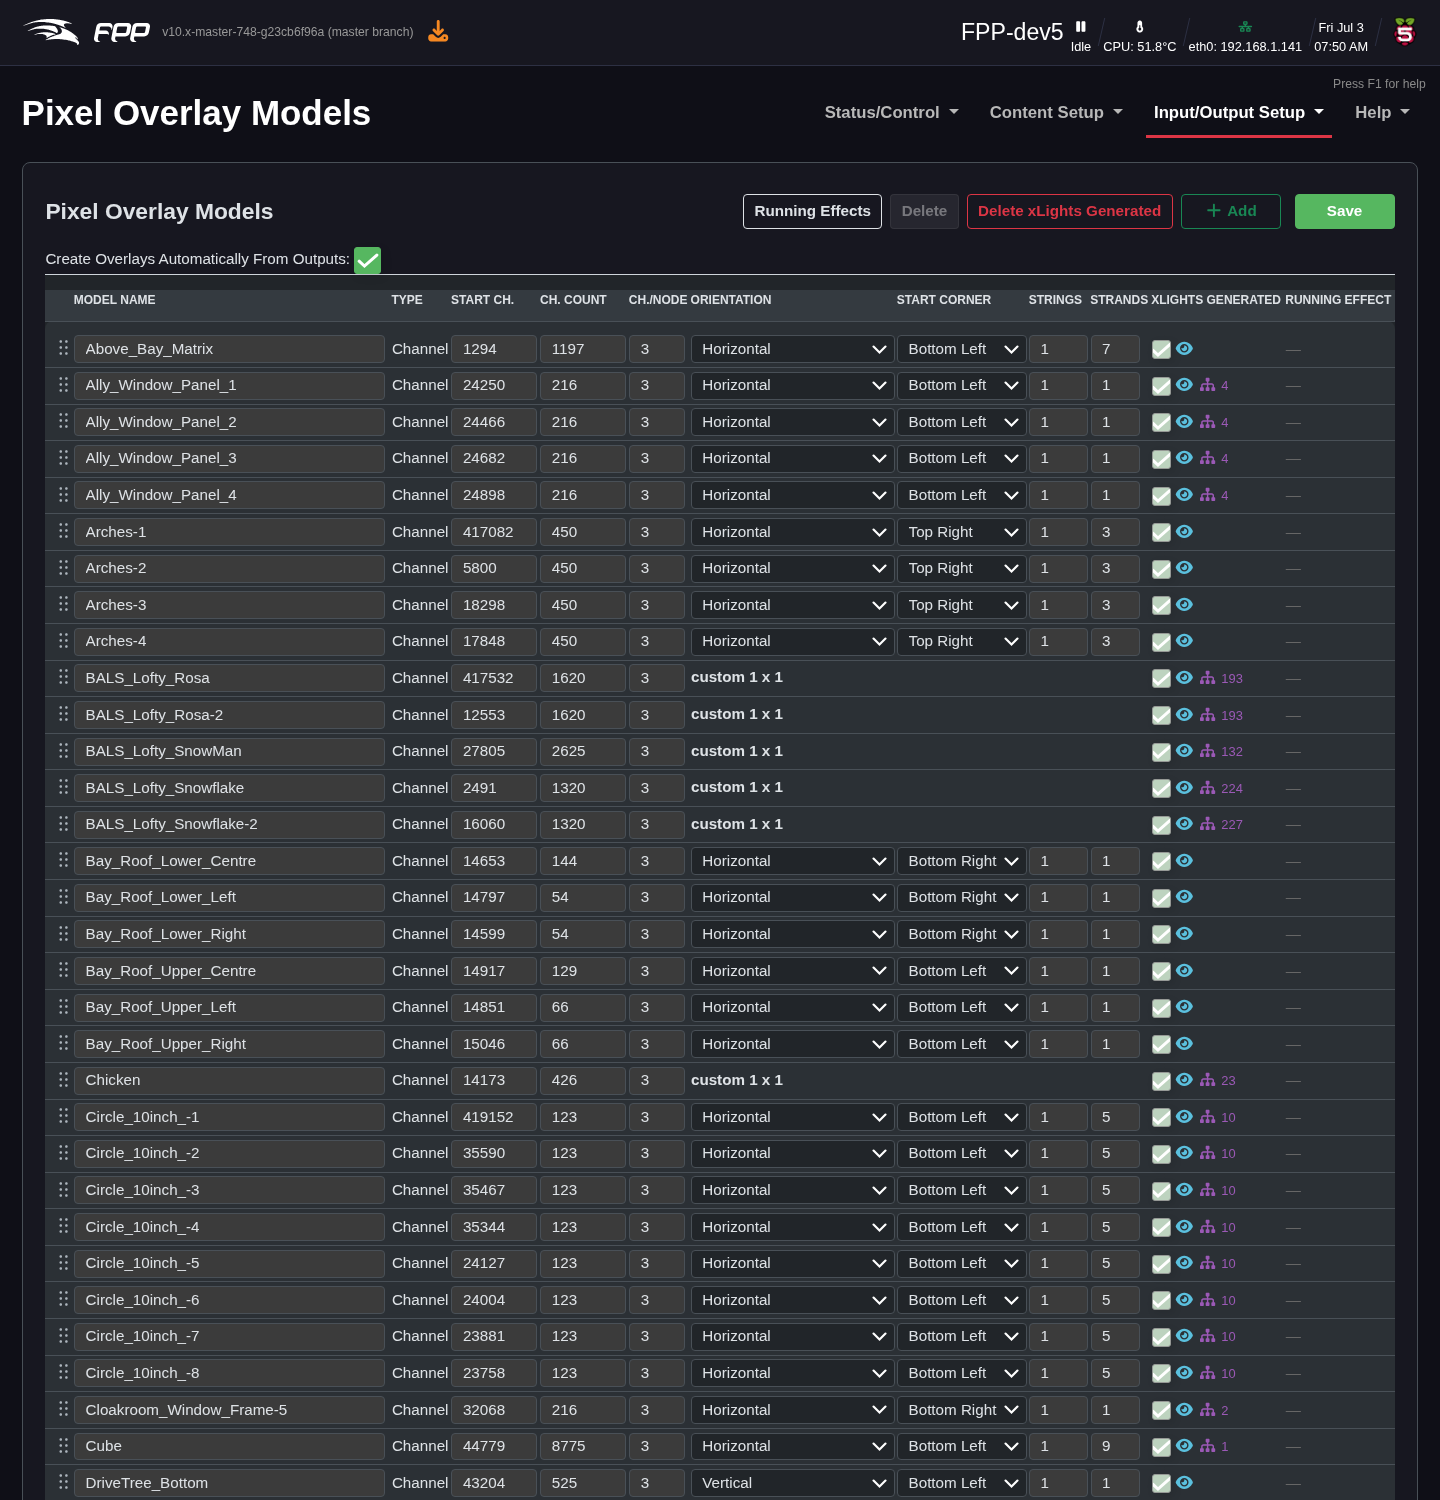
A model must match the settings in your sequencing software and the string ports in your controller.
Creating models
- Create Overlays Automatically from Outputs (recommended) – FPP builds the models from your configured outputs.
- Export from xLights (FPP Connect → Models) – uploads models, but for all models in your show (usually more than you want), and they can become incorrect if you change xLights and forget to re‑upload.
- There is an option to delete all xLights‑generated models.
Manual settings
- Model Name – used to reference the model elsewhere (plugins, scripts, etc.).
- Type:
- Channel – typically for models made of pixel strings.
- Frame Buffer – for a Virtual Matrix / Virtual Display, playlist image entries, and non‑accelerated video output on Raspberry Pis.
- Sub Model – to address only a portion of a model.
- Start Ch. – must match the start channel in your sequencer and string ports.
- Ch. Count – the number of channels (not pixels) the model uses.
- Ch./Node – channels per node (typically 3).
- Orientation – as configured in your sequencer.
- Start Corner – usually Top Left for xLights, Bottom Left for Vixen (P10/P5 panels); otherwise match your sequencer.
- Strings – typically the number of rows for P10/P5 panels; otherwise match your sequencer.
- Strands – 1 for P10/P5 panels; otherwise match your sequencer.
Previewing a model
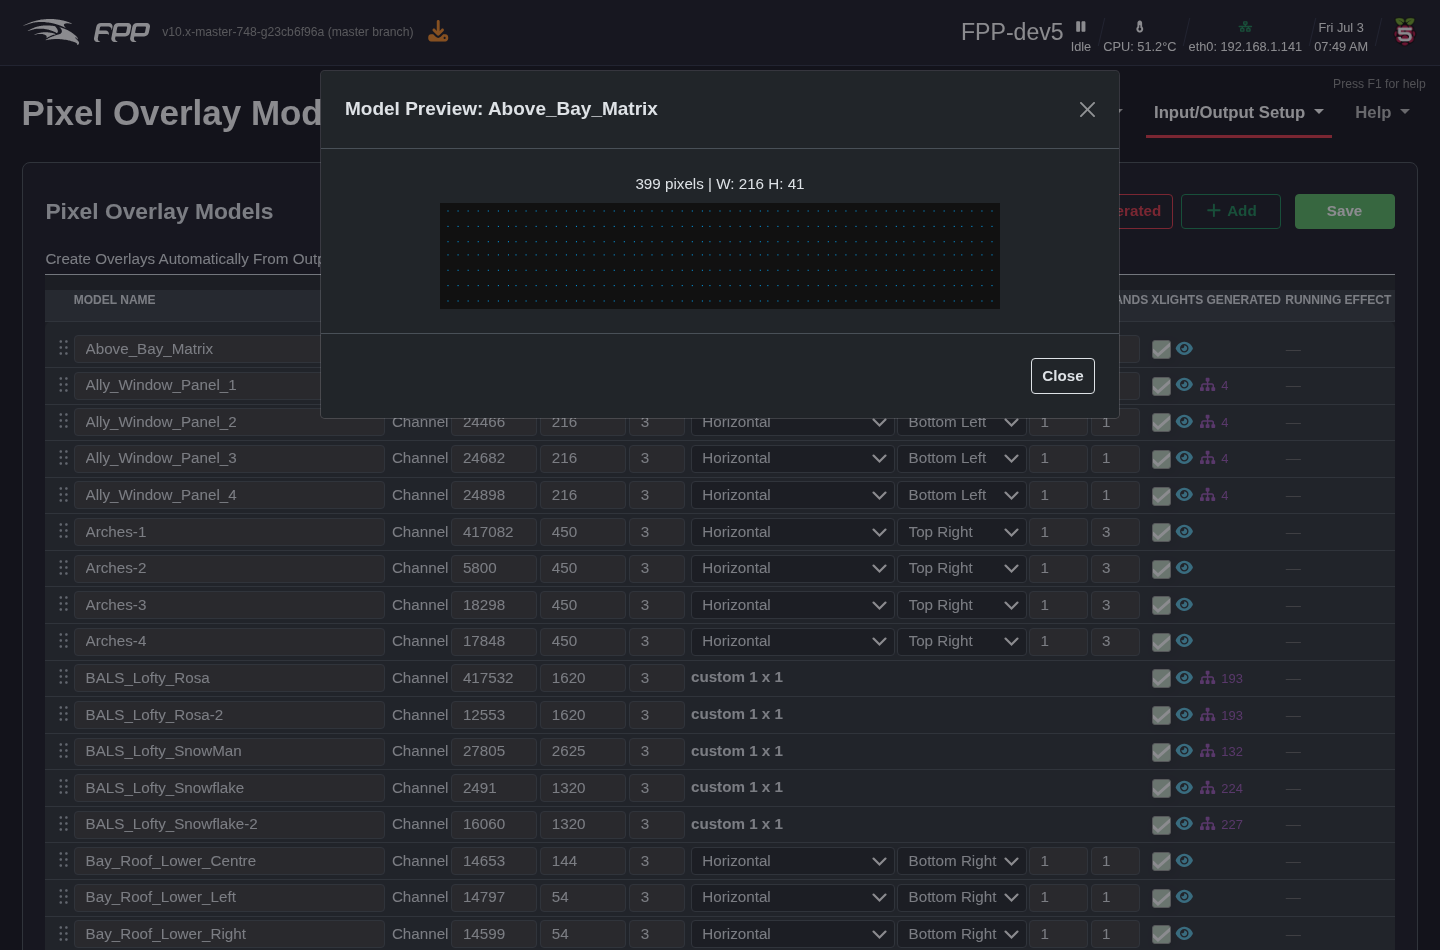
New in FPP 10, each model has a preview (the eye icon on its row) that opens a diagram of the model's actual pixel layout, drawn from the display map uploaded by xLights FPP Connect. This lets you confirm a model's geometry — its shape, dimensions and pixel arrangement — without sending any data to the lights.
xLights Submodels
Also new in FPP 10, FPP now understands xLights submodels — named regions within a model, such as individual window panes, the horizontal versus vertical runs of a prop, or sections of a mega‑tree. When you upload from xLights FPP Connect, submodels appear under their parent model: a model with submodels shows a sitemap icon that expands a list of them, each with its own preview.
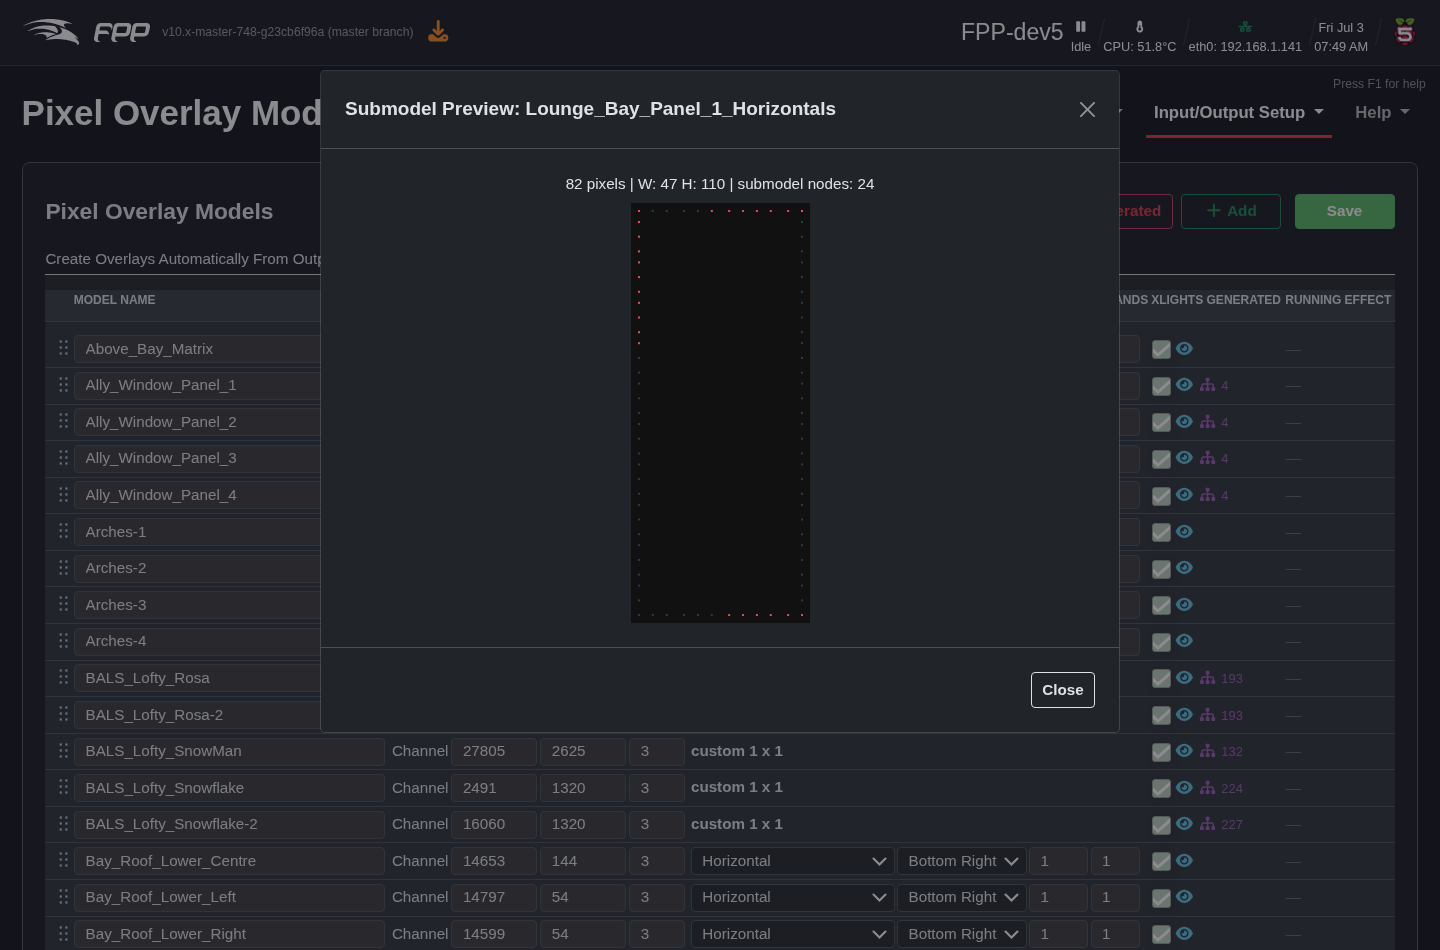
Crucially, a submodel is addressable by name through every overlay command — Overlay Model Effect, Fill, Clear, State and Text — and through the API, MQTT and plugins, exactly like a top‑level model. So you can run an effect on just the "Horizontals" of a window, or scroll text across one section of a prop, without sequencing it.
Note
Submodels are read from the digested data that xLights FPP Connect
uploads (config/xlights-submodels.json). They are loaded on demand — systems
that never use a submodel pay no memory or startup cost. If your submodels do
not appear, re‑run FPP Connect after changing them in xLights.
Model Groups
FPP 10 also supports xLights model groups — collections of models and submodels that xLights treats as one arrangement. When present, the page shows a Model Groups section listing them. A group is addressable by name through the same overlay commands as models and submodels, but it renders across the whole group as a single canvas laid out by real‑world position: an effect sweeping across the group sweeps across it in physical space (the familiar xLights "moving across the group" look). This makes it easy to run one coherent effect across a symmetrical arrangement of props.
Note
Model groups render as RGB (an RGBW member's white channel is not
driven), and FPP provides a single sensible spatial layout rather than every
xLights buffer style. Like submodels, groups are loaded on demand from the
data uploaded by FPP Connect (config/xlights-modelgroups.json).
Uses
- Displaying real‑time dynamic text on a matrix or mega‑tree.
- Displaying the current time or a Christmas countdown on a matrix.
- Turning individual channels on/off (a Tune‑To sign, inflatables, etc.) without sequencing them in every file.
Tip
The Matrix Tools plugin (via the Plugin Manager) uses the overlay feature to display and scroll dynamic text on a model from a web interface — you can even draw on your matrix in real time with your mouse.